HANDMADE PROCESS CERAMIC CREATIONS
Production Process
For us in "My Ceramics", the production process is the most significant element of our work. It is both the beginning and the ending of an entire effort that aims to bring the best possible result for our clients. It is a long effort, with many in-between stages until its completion. During all these stages, there is a common key element, and that is the attention to detail. There is a series of details when it comes to crafting a ceramic piece, and every single one of them is essential when it comes to the final result -which can make the difference between a perfect and an imperfect (and therefore useless) item. This is the greatest challenge and the essential element that makes ceramics such unique art, all these details when it comes to the final result. A thin, delicate line that needs to be followed in precision from start to finish and even the slightest deviation can be crucial. In this section, we will give you an insight into the secrets of handmade ceramics, a craft that we passionately represent.
Stage 1: Clay processing
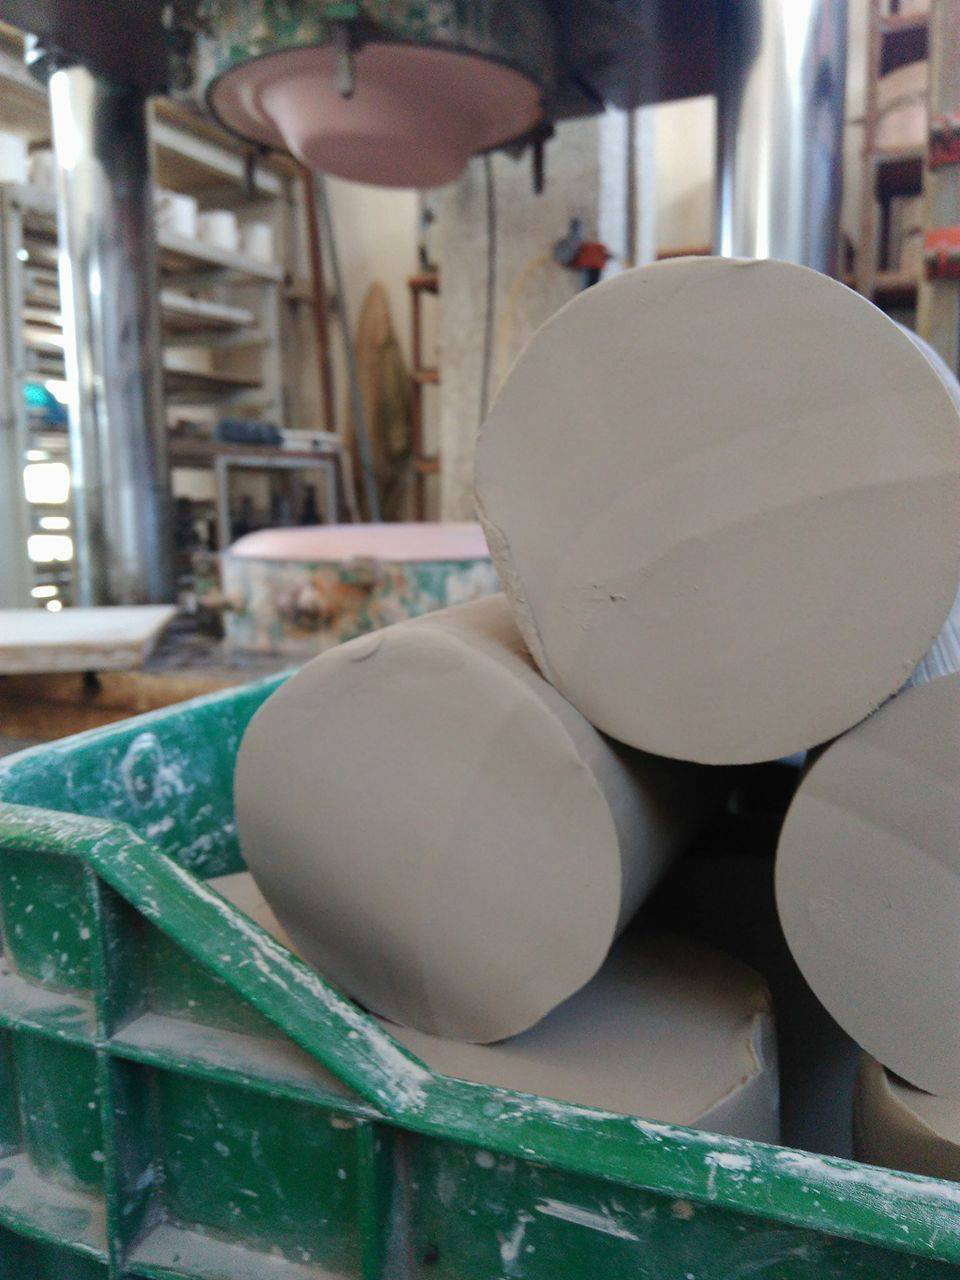
We start processing our ceramic objects literally from scratch, from clay.
For the special requirements of the restaurants where our products are addressed, we use Stoneware clay -the best available raw material. We import it from Germany and it is checked for its suitability both by the country of origin and by the European Union.
The journey of the objects starts from the kneader, a machine that condenses the clay and removes any air inside it because if an object has air trapped inside it will either "burst" or a permanent bubble will be created. Also, through the kneader, we can set the appropriate length and weight for each item separately based on its specific needs. And here comes the issue of detail, if the shell (initial shaping) is smaller, harder or softer than it should be, then the object will come out deficient in clay -or it will not be able to be properly formed in the next stages.
Many times the kneading is done 100% by hand, with special techniques to remove the air contained in it, during the appropriate shaping that needs to take place.
Stage 2: Shaping
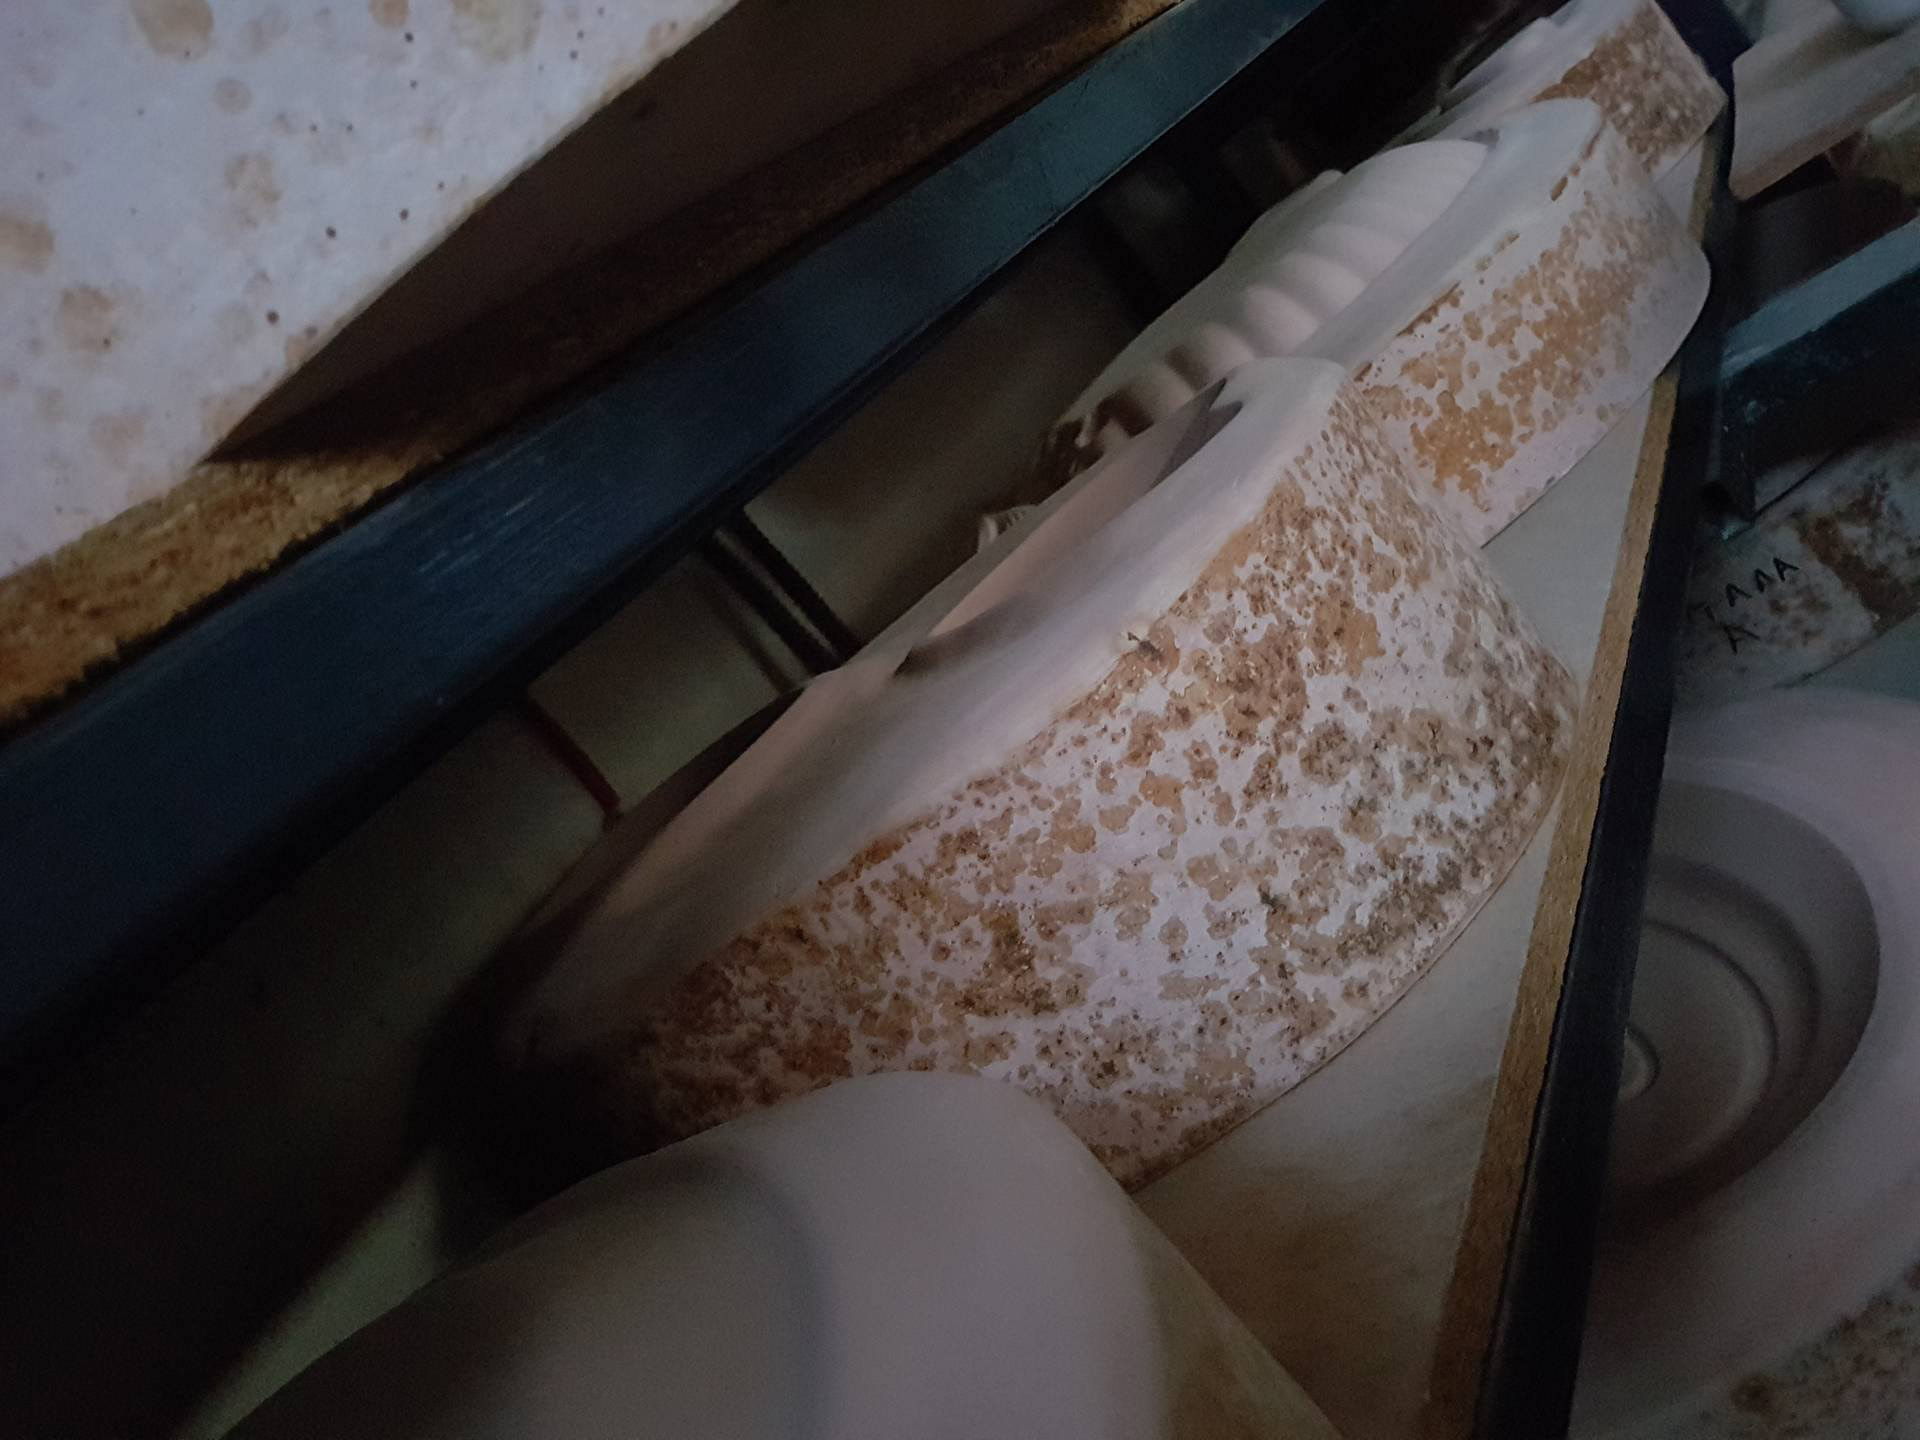
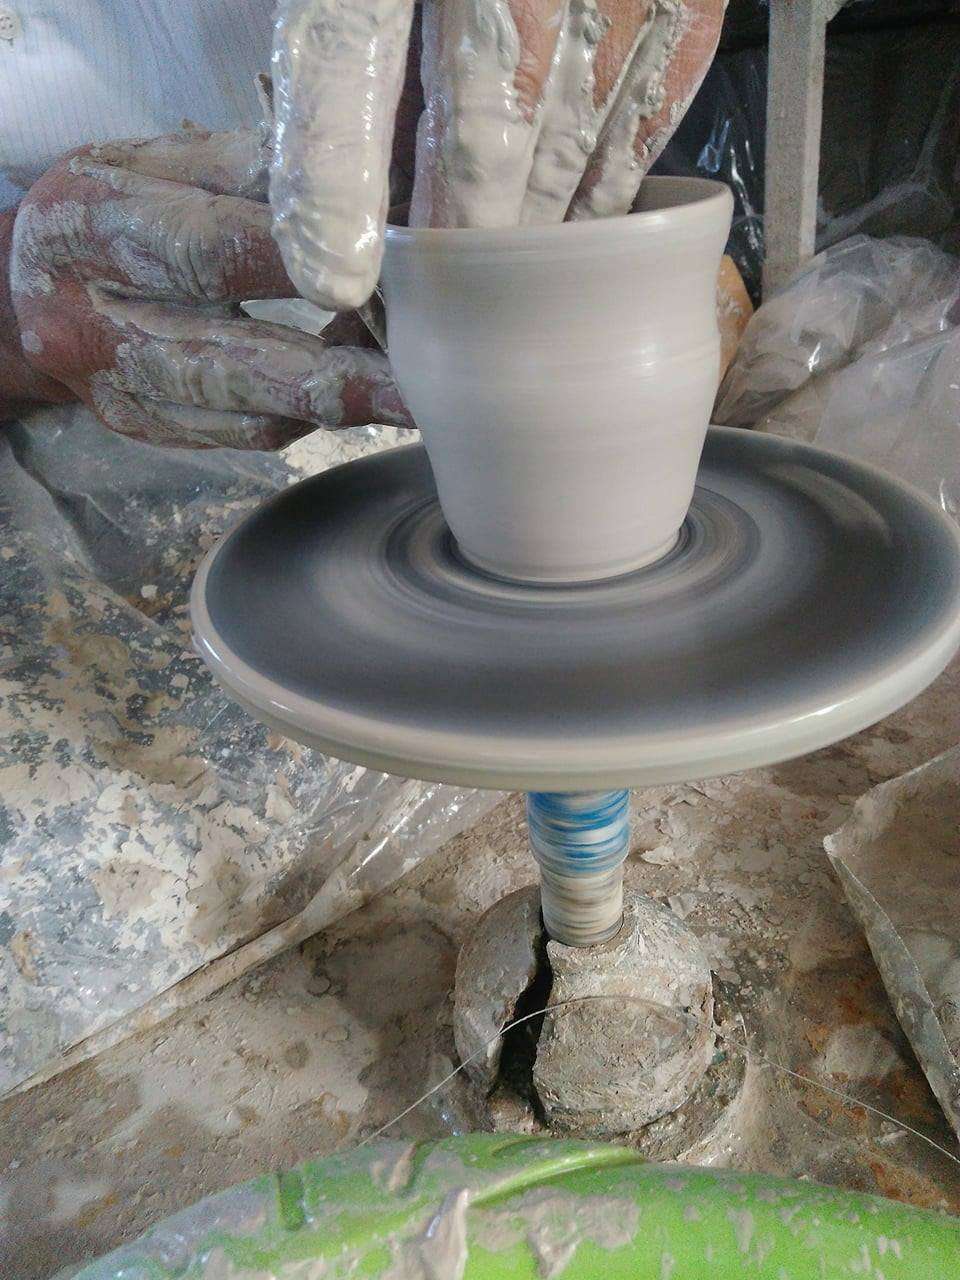
In the second stage of creation-production, after we have created the appropriate shells, we proceed to the shaping of our ceramic objects, which is done in four ways -always depending on the object. These are:
a) through a press with metal or gypsum molds (made by us) to give a uniformity to the objects and in order to be on time in terms of delivery deadlines,
b) by a wheel in the traditional way, which even today can create items that modern technologies cannot,
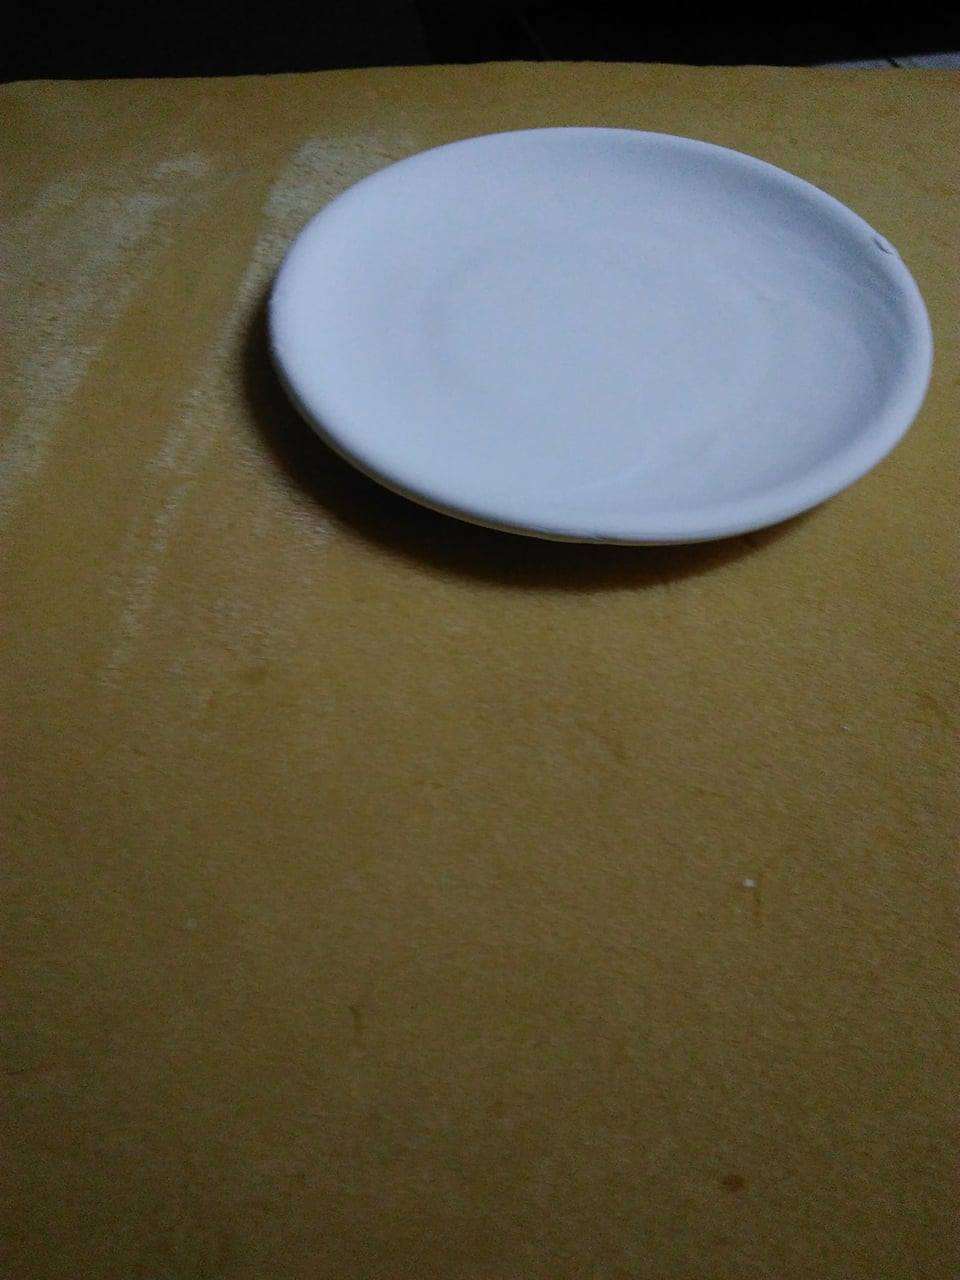
c) by hand we shape the clay sheet and we mainly make flat-irregular food plates,
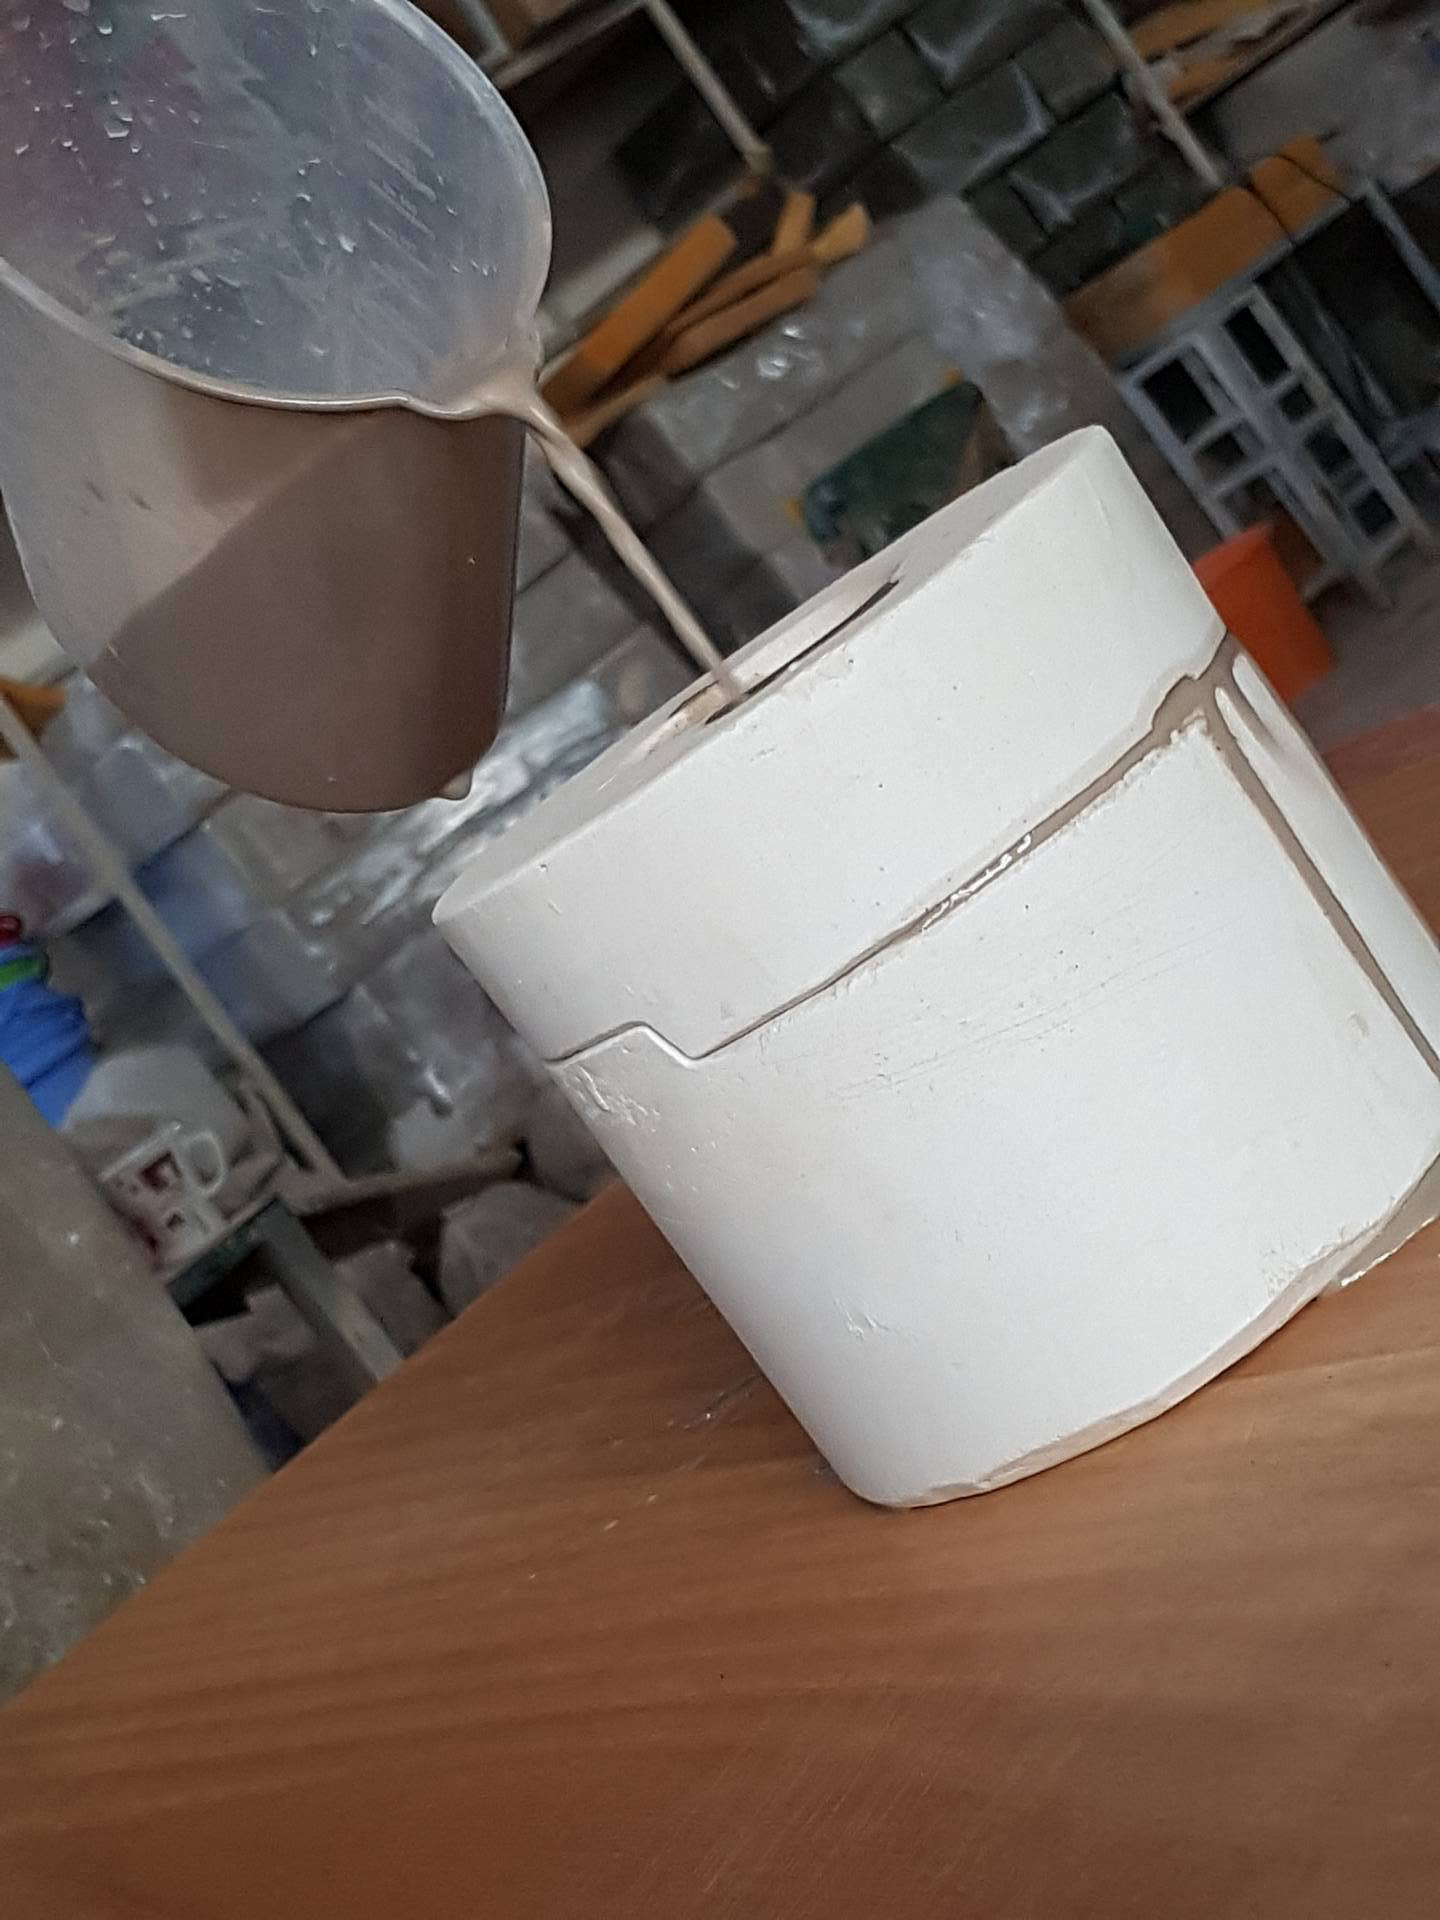
c) with cast clay, by using specially shaped matrices (also made by us).
These four different ways are our "weapon" and our power to create anything the human mind can imagine. We can say that one way complements the other, each giving us a set of unique and distinct advantages.
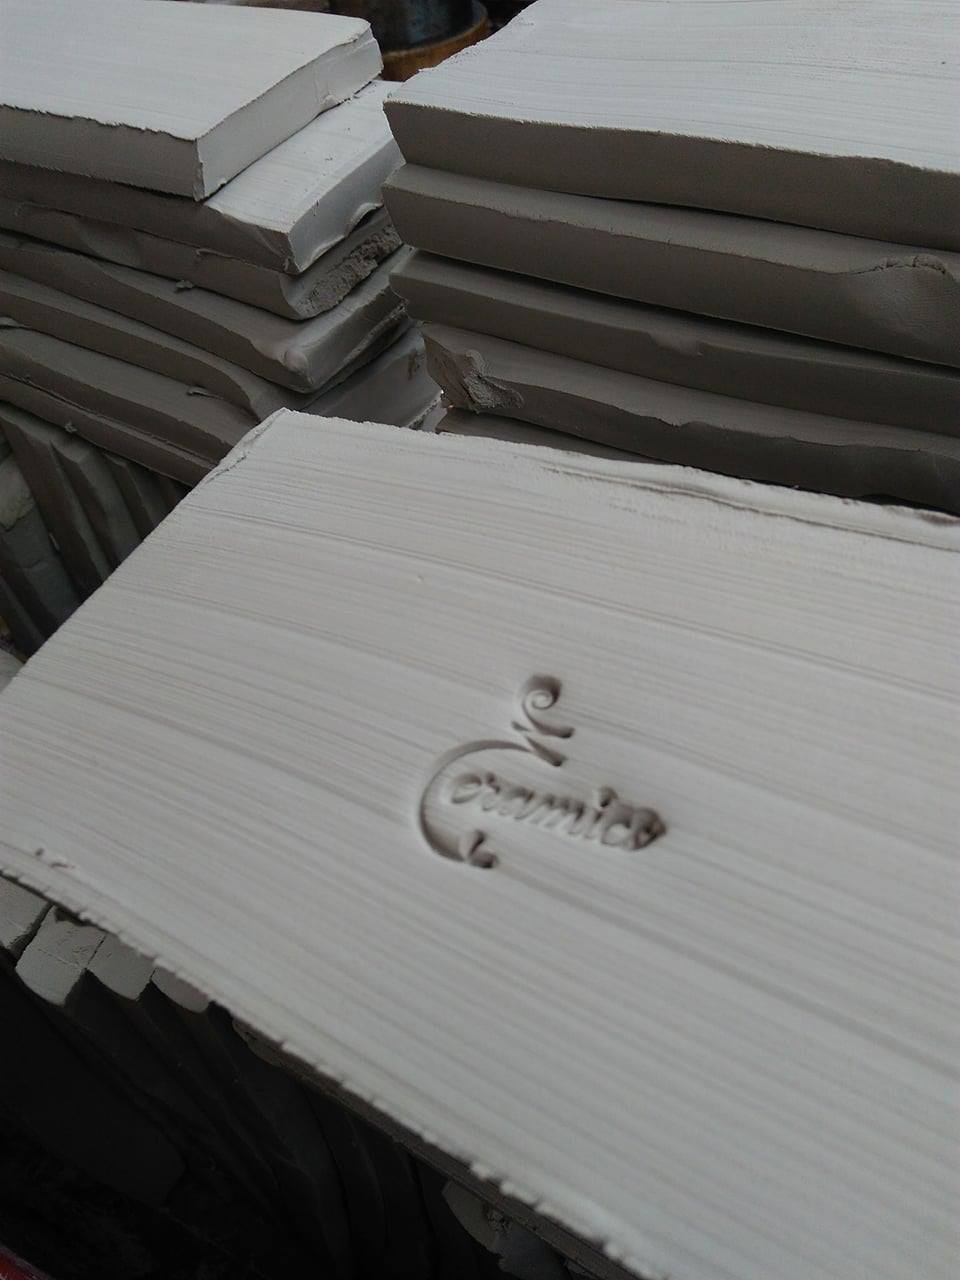
Stage 3: Smoothing
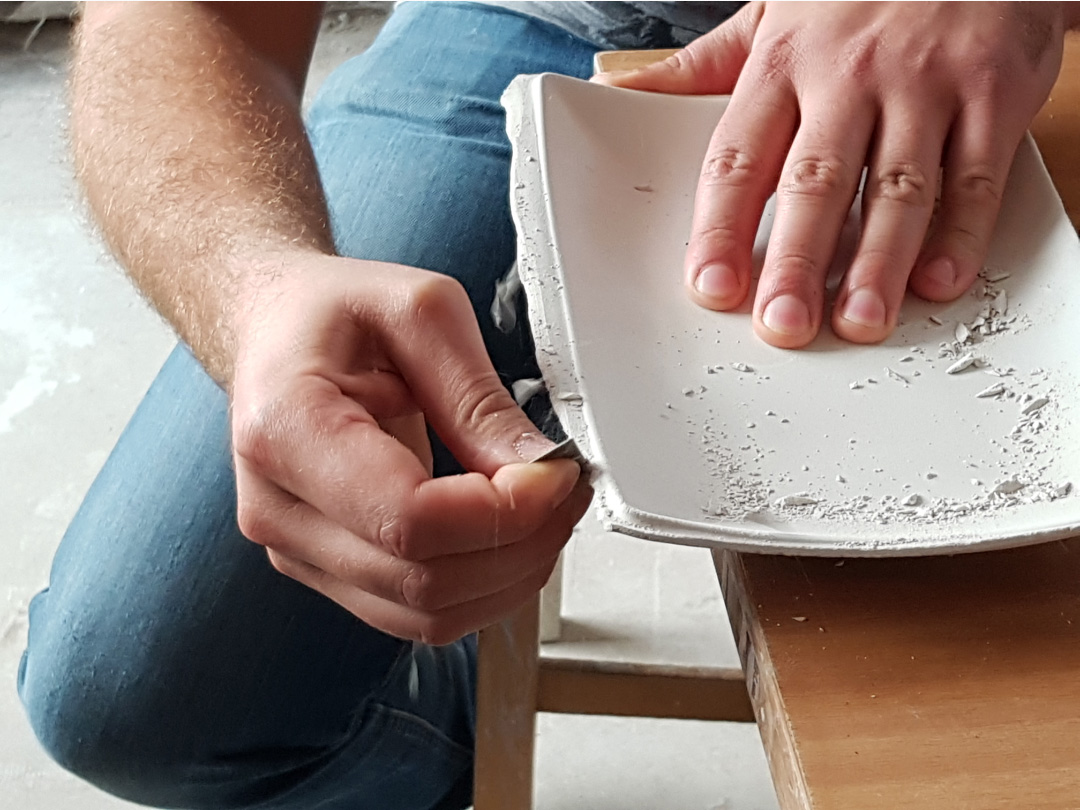
After the ceramic objects take their shape, after a time period of 1-2 days (depending on the weather conditions), they dry naturally in a mild environment so that they can be further processed. The next stage, then, is the smoothing of the objects’ edges, as after the formatting they leave a burr -usually at the top of the item. This smoothing or "scratching" is done by hand with special cutters ("blades"), removing the burr, and giving smoothness and roundness to the objects.
Stage 4: Sponge smoothing
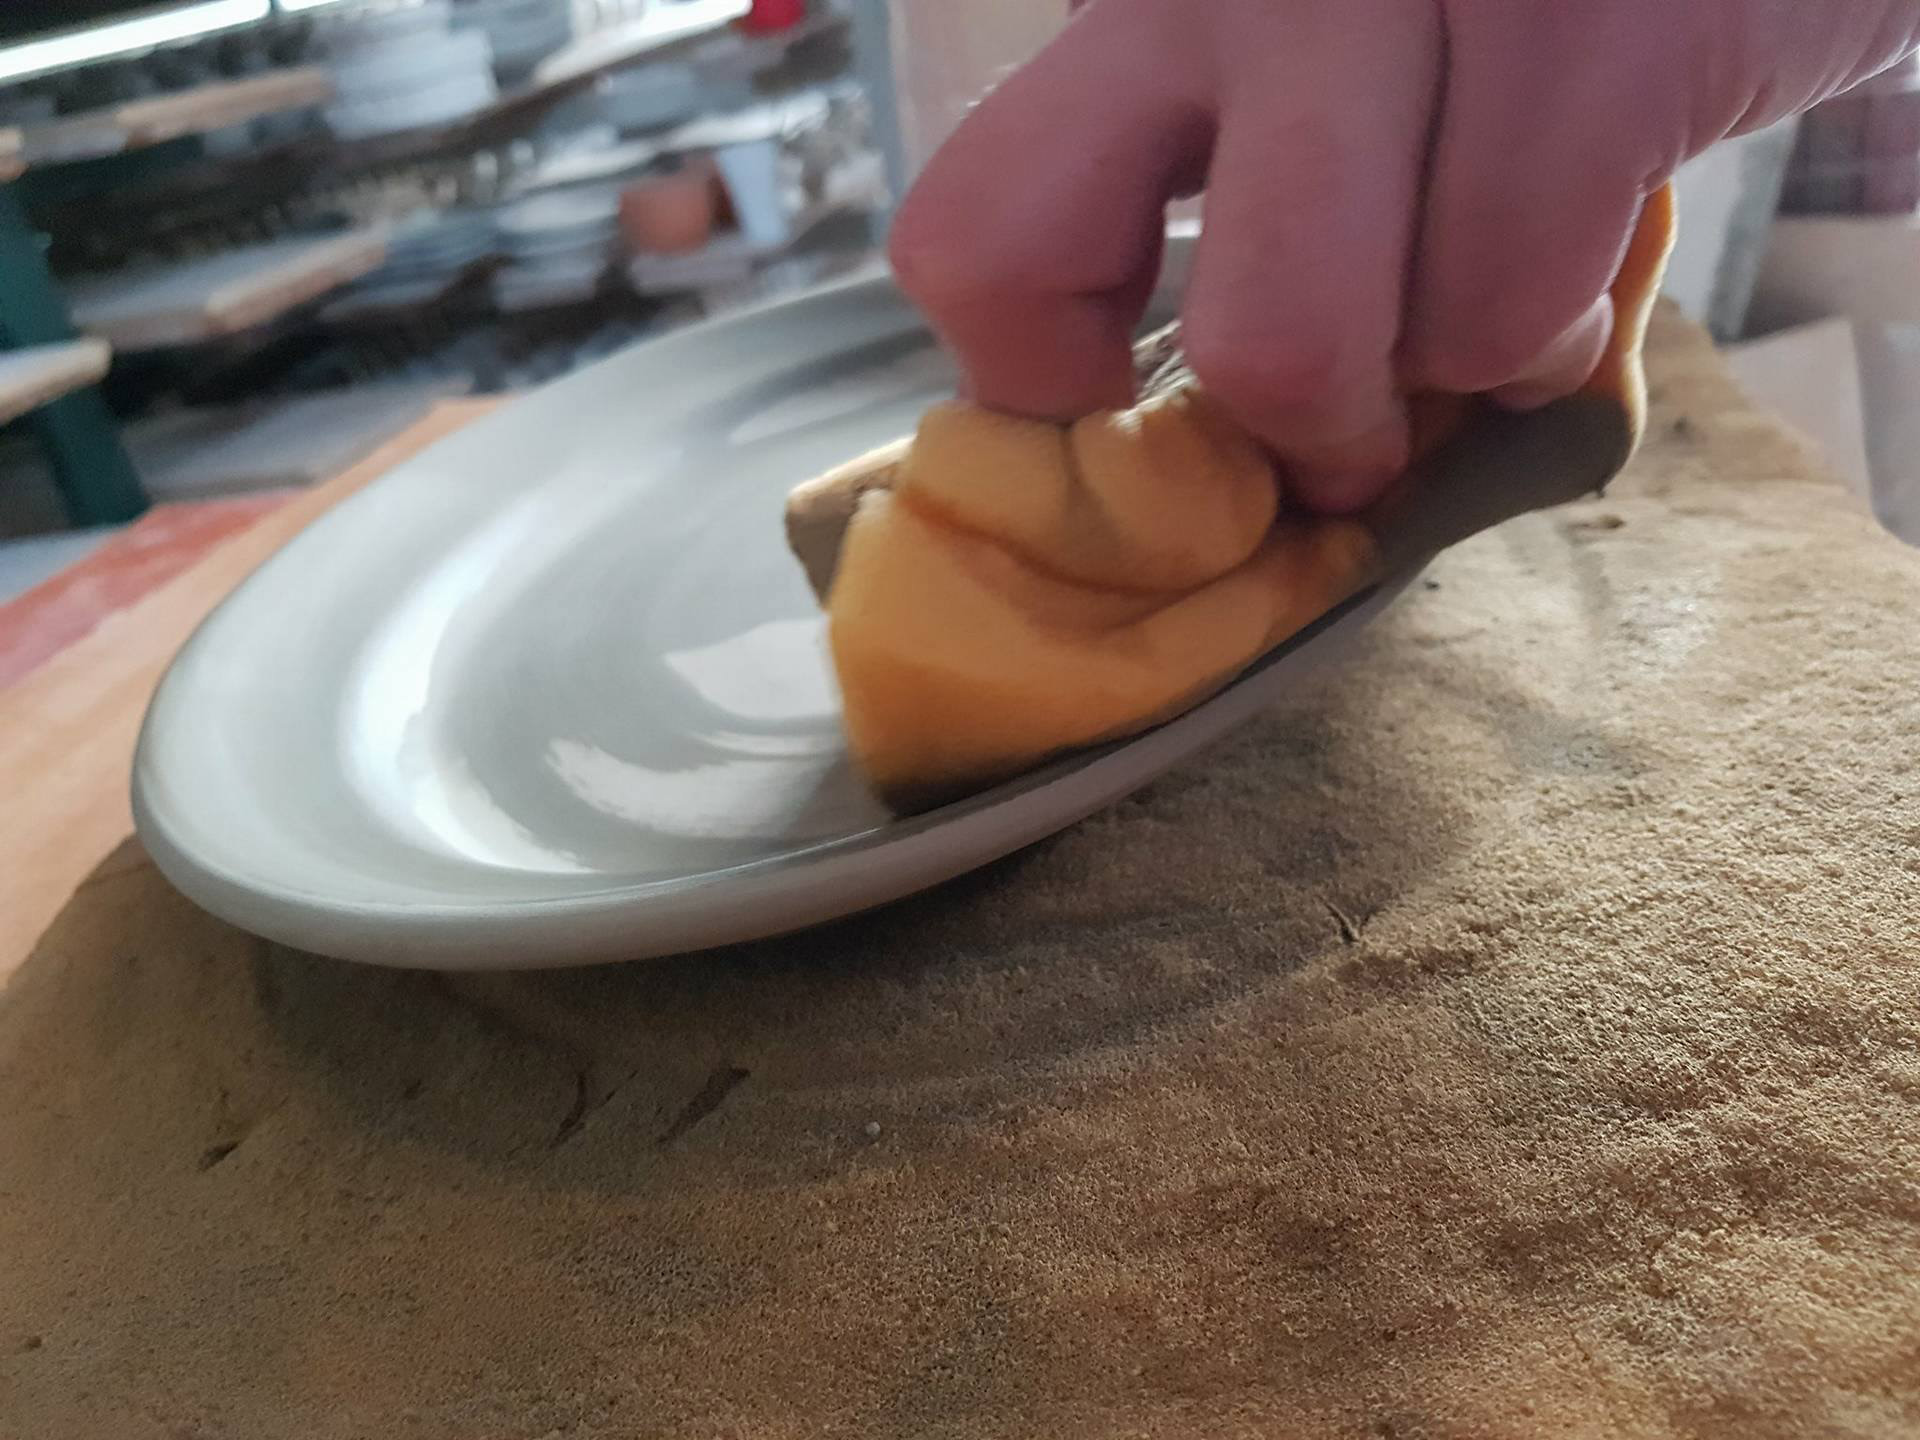
In the fourth stage, by using special fresh sponges, we pass all the surfaces of the ceramic so that we smooth -or even remove- any recesses or minor imperfections that the objects have, which they acquire when they are still fresh -and therefore more sensitive. Also, in this way the surfaces are cleaned, which means that the fire colors will spread better after baking, and also the liquid glass will be better absorbed.
Stage 5: Sintering
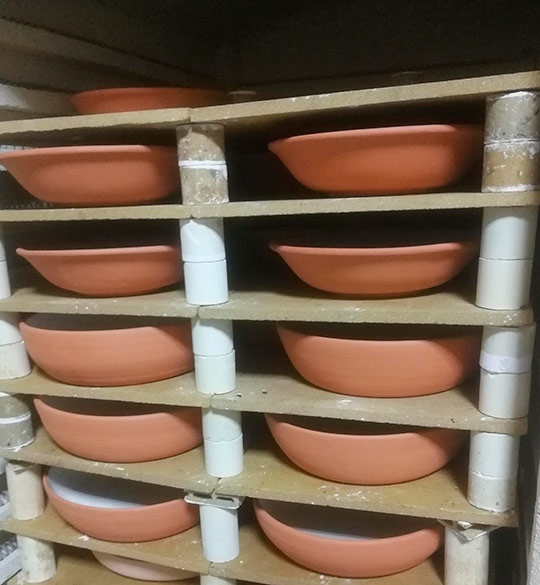
In the fifth stage, after the above-mentioned treatments, and after our ceramic objects have "dried" (something that takes extra hours to remove all the moisture left by the fresh sponge), it's time to enter the special high-temperature furnaces (1,000- 1,200℃). Sintering takes about 14-16 hours and after a significant extra time -after it has been stabilized at 50-60℃- we open it and take out the ceramics in the form of bisque. This was the first sintering. A very important detail is that for the objects to come out of the furnace properly and not to break, they need slow sintering (so that they are heated well and evenly) and also slow cooling (if someone rushes and opens the furnace at 200 or 150℃, there is a risk that large ceramic dishes will be cut in half, due to the extreme difference in furnace-environment temperature.
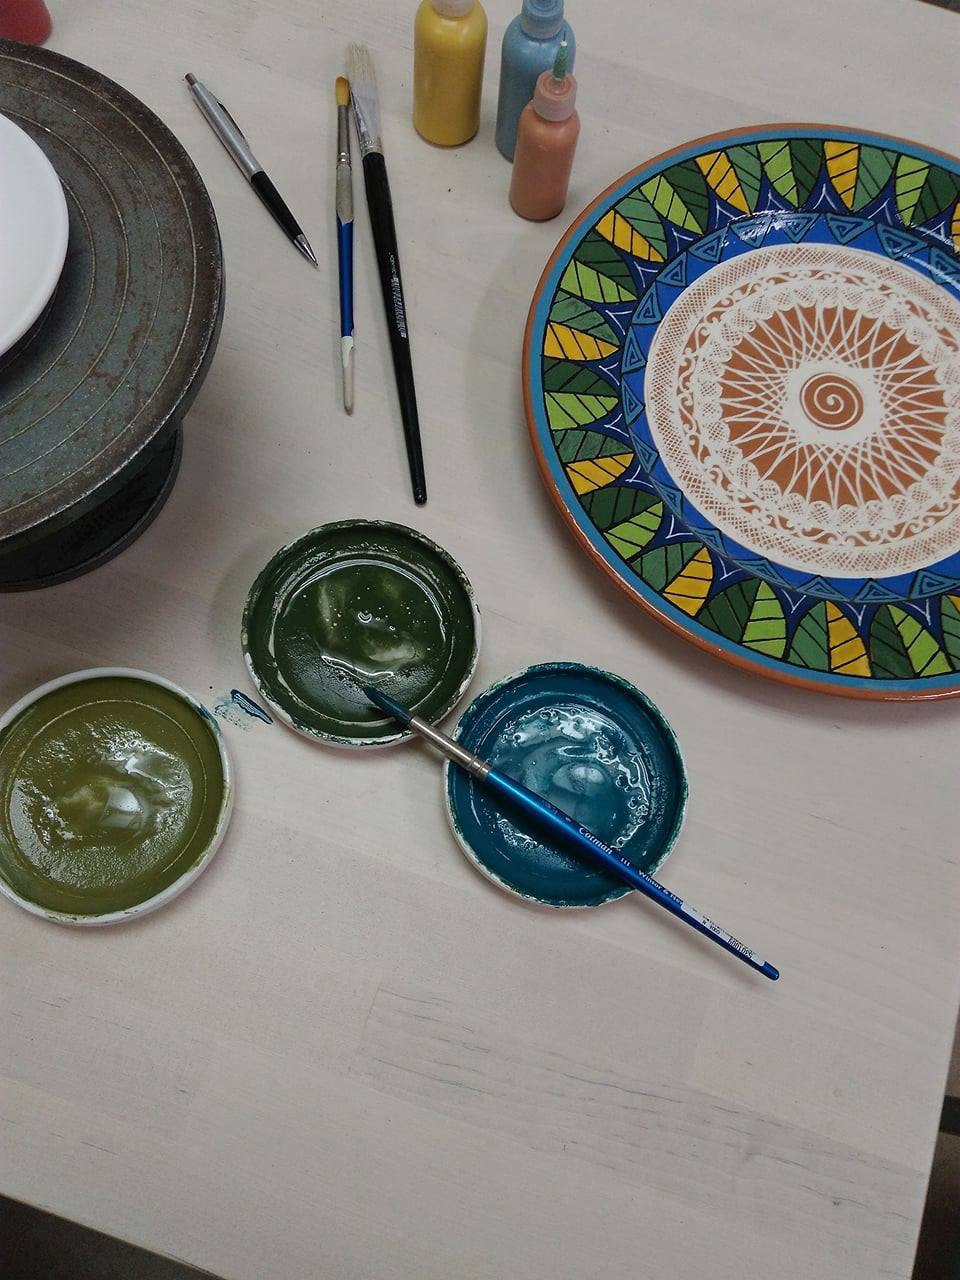
Stage 6: Coloring
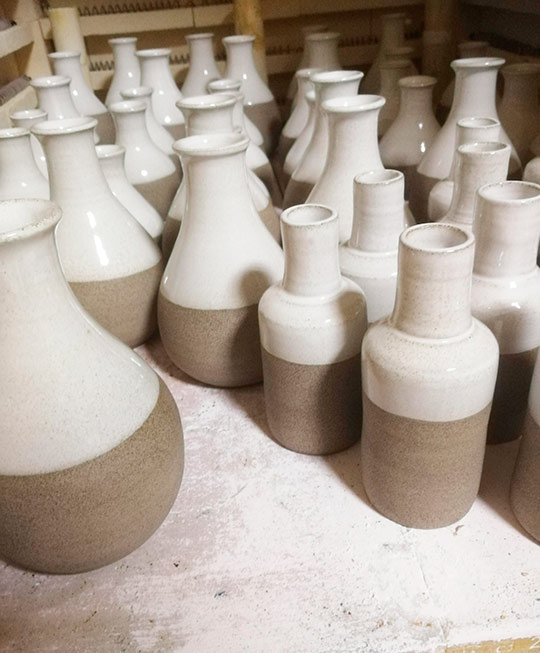
In the sixth stage, having in our hands the ceramic in the form of bisque, we could compare it with a canvas, ready for artistic creations. Whether the ceramic is a dish, a light fixture, or a bowl. At this point, we can stylize our ceramic objects, not in terms of shape (since they have already been baked once and have become solid and compact) but in color, by using special fire, enamel, or glaze stains decorating colors, giving them a special finesse and grace.
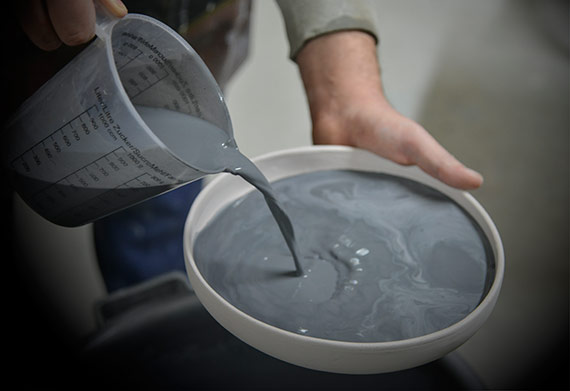
Stage 7: Glazing
After painting our ceramics, to get a useful shape and get the shine that all ceramic dishes, mugs, etc. have, they should be dipped in special liquid glass. With specially shaped tweezers, we dip the ceramics in clear glass, so that it can be re-sintered and become ready for use.
Stage 8: Post-glazing cleaning
After dipping it in the glass and while the ceramic is still somewhat fresh, with very careful movements we lift the objects and wipe the surface that will touch the baking plate of the furnace with a fresh sponge. Otherwise, it will stick to the plate, and then both the object and the plate will be useless.
Stage 9: Second sintering
After all the previous stages, the ceramics will once again be placed on the surface -this time to be glazed. Unlike sintering bisques, this time is completely different. The glazed objects must be placed carefully within the furnace and at a distance from any other ceramic object because otherwise, it will stick to it. This process takes place at 1,000℃ for 10-12 hours. In conclusion, one of the most important details is that after sintering (especially the second one) the furnace should cool slowly and open at a very low temperature, below 100℃. This is because the extreme difference in exterior and interior temperature might have as result the breaking of the ceramics.
In conclusion
After this long journey, it is easily understood that ceramics is a world of chemistry, where even the slightest difference can ruin any effort. It takes a lot of concentration and enormous discipline on every move, even from experienced professionals such as ourselves. No one can say with certainty that he holds absolute knowledge because we discover things that make us wiser every single day. All this knowledge is the result of many errors and challenges we have faced over time.